Tilda is a website constructor that doesn't require any programming skills. The service allows you to create websites, online stores, landing pages, blogs and email dispatch.
Websites built on Tilda can be transferred to our hosting. You can read more about this method in the article "Methods of sending leads to account". Here we will tell you how to leave the site on Tilda and set up the transfer of orders to LeadVertex
Notice: before starting the setup, make sure that your project works on CRM+ or CRM PRO tariffs. On lower tariffs, the Tilda module is not available.
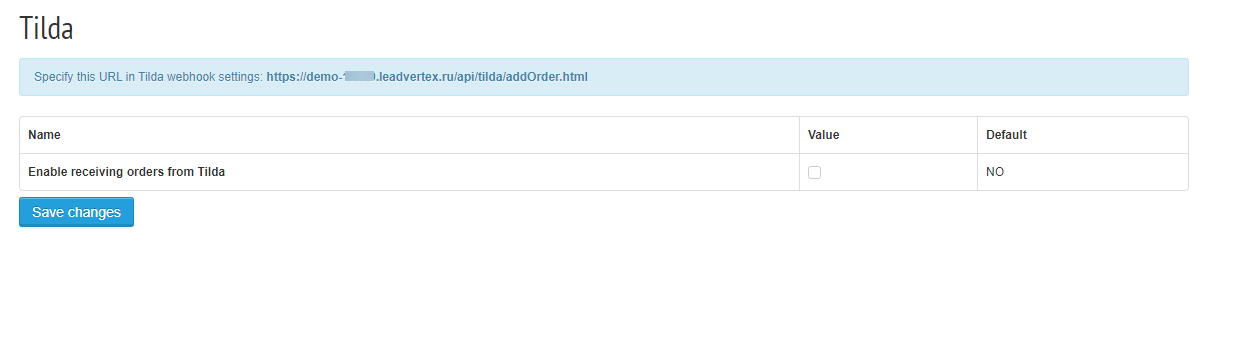
First, you need to set up the Webhook. To get started, enter your project on LeadVertex - Settings - Modules - Tilda. Enable use of the module and copy the special link from the blue frame.
Next, open your Tilda's account. Go to site settings - Forms - section Other - Webhook, paste the copied link into the "WEBHOOK URL" field and save changes.

Now in the "Forms" tab, enter the settings, here you will see the new connected services.
Enter the settings of the connected service and mark the checkbox "Send data on goods in the order - in bulk".
After that, you can also click on the link at the bottom of the page "Connect the service to all forms on the site", it will connect the webhook to both regular forms and the shopping cart.
After connecting the webhook, you need to refresh the page to apply changes.
When the settings on Tilda are finished, enter your LeadVertex project and add products’ names to the warehouse module. We describe how to work with a warehouse in the article "What allows this module".
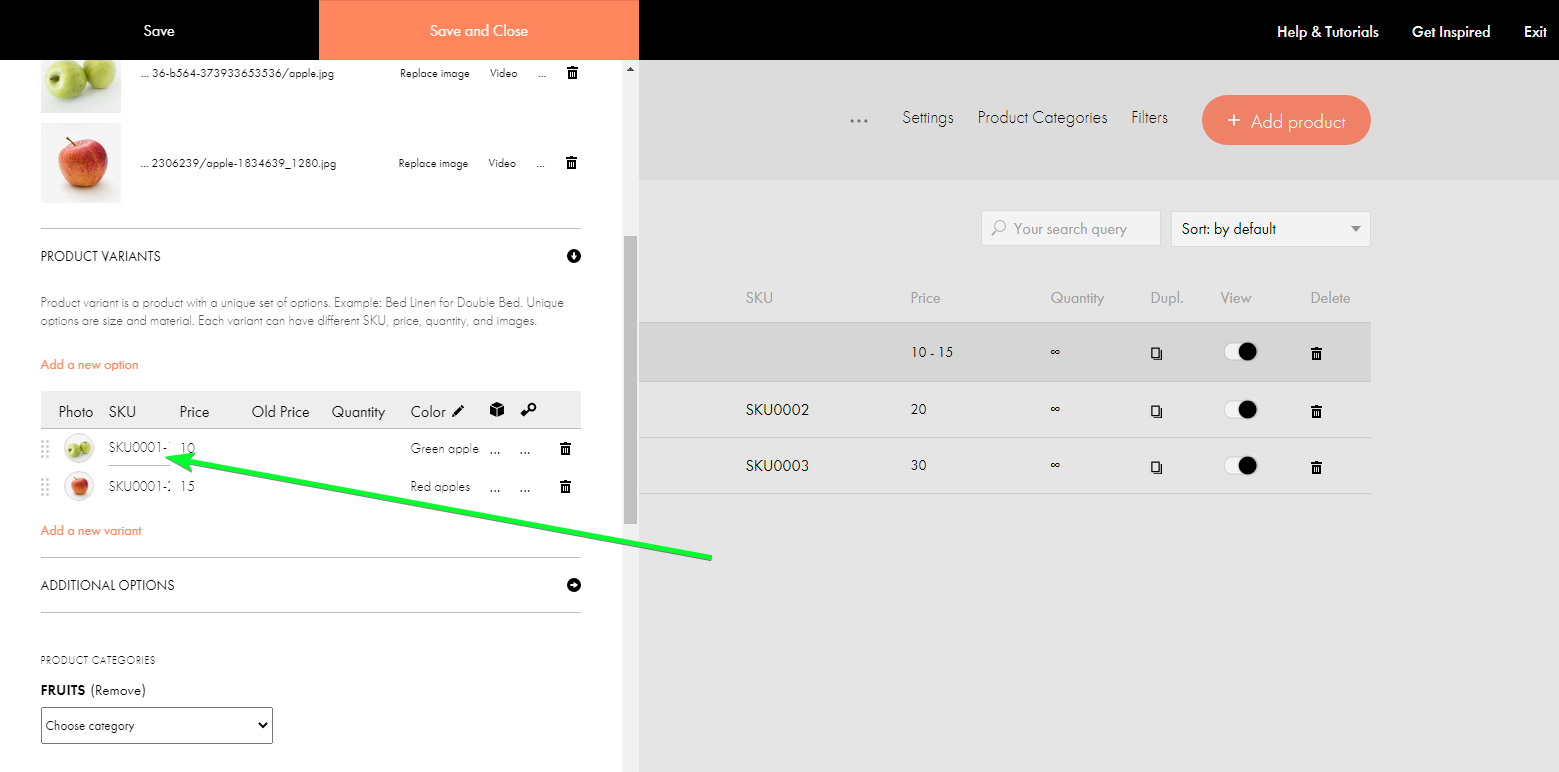
Notice: the alias of the product in the warehouse must be the same as the product’s SKU on the Tilda side.
Not sure how to find the SKU on Tilda's side? Go to the "Products" tab

Edit the SKU of the product you need in Tilda, as shown in the screenshot
or in the warehouse module in LeadVertex, as in the instructions.
If you need to send data from the form, in addition to goods / name / phone / email, you need to specify the name of the variable for the field to send. To do this, enter “Editing the page in the tilda” section - block with desired form - Content. Go to the "Input fields" item and for the "Variable name" option specify to what field in LeadVertex you want to send data.
Here is a list of the available fields:
country - countryregion - regioncity - citypostIndex - Post indexaddress - addresshouse - buildingflat - apartmentfio - full name phone - phoneemail - emailadditional1 - additional field 1additional2 - additional field 2additional25 - additional fields 11-25comment - commentary to orders